Know Where You Are, Where You Can Go, and What Could Change
Marine navigation begins with three connected decisions: establish your position, choose water that is suitable for the boat, and keep checking whether the trip still makes sense. A line on a screen cannot make those decisions for you. Wind, current, depth, traffic, visibility, and equipment limits all affect the route between departure and arrival. Begin learning on a short daylight trip in familiar sheltered water, with suitable instruction and a crew who understand the plan. This guide follows that practical routine for recreational boaters. It introduces the terms and checks that support sound decisions, while leaving detailed chart interpretation and boat handling to focused practice. Build skill gradually before adding darkness, strong currents, narrow approaches, or unfamiliar coastlines.
A: The operator must assess water, traffic, and conditions.
A: Wind and current can produce sideways movement.
A: Their timing and meaning can differ.
A: Understand its coverage and displayed reference.
A: Its needs and destination may differ.
A: Position reception and chart updates are separate.
A: Compare several appropriate independent clues.
A: Increase attention as hazards and demands approach.
A: Usable information, power, protection, and practiced operation.
A: Use training and gradual supervised experience.
Define a Voyage the Boat and Crew Can Manage
Use a simple imaginary outing to connect the steps: leave a sheltered marina, follow a marked channel to a nearby bay, and return before the forecast changes. This is a learning scenario, not a navigable route. Check the marina exit first, the channel and its limiting depths second, and a suitable arrival or turnaround in the bay third. Record an alternative return time if the weather window shortens. Choose a destination that fits the vessel’s draft, range, equipment, and the crew’s experience. Check that the arrival offers an appropriate berth or lawful anchorage rather than assuming any harbor is suitable. Include the route home in the decision. A pleasant outward passage with wind behind the boat can become a difficult return against the same conditions. Allow enough daylight and fuel for delays and a sensible alternative. Navigation planning begins with the complete outing, not merely the distance to the attractive destination on the map.
Tell a trusted person ashore where you intend to go, who is aboard, and when to expect your return or update. Provide the information needed to identify the vessel and explain what action to take if you are overdue. Keep that arrangement realistic and update it when plans change. A useful float plan does not control the trip, but it gives somebody a reference if communication is lost. Brief the crew as well so the intended destination and backup are not known only to the operator.
Gather Current Information Before Leaving
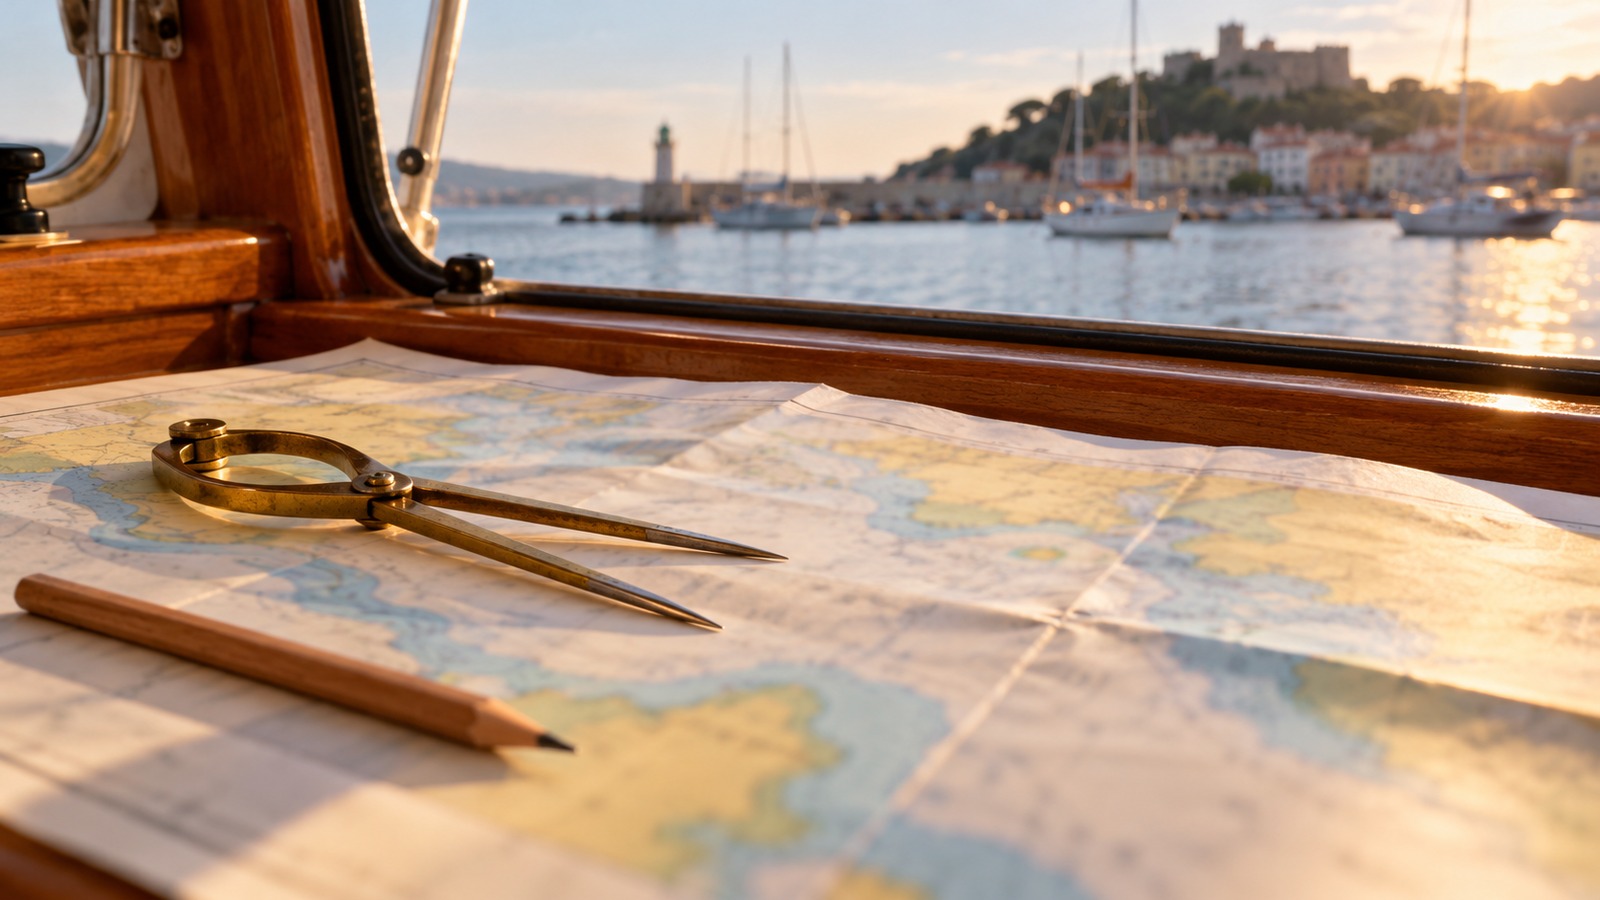
Use a current chart appropriate to the waters and scale of the passage. Check the chart provider’s update process and the age of the data installed on your equipment. A screen displaying an old chart remains old information even when the boat’s position is live. Review relevant navigational notices, local restrictions, and temporary changes to aids or channels. Ask the harbor authority about an uncertain approach before arriving. Local advice can supplement the chart, but it should not replace a coherent route assessment.
Read the marine forecast for the actual route and time window. Consider wind direction, gusts, wave conditions, visibility, and any weather that could affect the return. Conditions near a sheltered launch may not represent the water beyond the headland. Set conservative limits based on the boat and demonstrated crew ability. A forecast is an input to the plan rather than permission to ignore what you observe. If the day no longer fits the intended voyage, choose a shorter route or remain ashore.
Where water level or current changes matter, consult the correct tide and current information for the location. High water and slack current are different events and should not be treated as interchangeable. Depth, bridge clearance, harbor access, and the effort needed to make progress can change across the day. Identify the timing that matters to your route. If you do not understand a local current pattern, obtain instruction or reliable local guidance before making it part of a first independent trip.
Check the boat’s readiness against the route. Confirm fuel, electrical power, communications, safety equipment, steering, and the navigation tools you plan to use. Test the controls and make essential information accessible without a marina connection. A route is incomplete if the equipment needed to follow it has not been checked. Learn the basic functions of the chart display before departure, including orientation, zoom, position format, and how to return to a useful overview after inspecting detail.
Build the Route Through Safe Water
Follow the intended track at both an overview scale and a useful local detail scale. Avoid connecting waypoints across land, shoals, restricted areas, or hazards hidden by a cluttered display. Account for the boat’s draft and a reasonable clearance margin, rather than treating charted depth as a promise of exact water beneath the keel. Examine turns and the approach to the destination as carefully as the main leg. Automatic route suggestions need this same review. The operator remains responsible for assessing the water, conditions, and traffic rather than accepting the software’s line as a tested passage.
Understand the Direction and Movement Terms
Heading is the direction the boat points. Course over ground describes its direction of travel over the earth, and speed over ground describes progress over that ground. Wind and current can make those directions and speeds differ from what you expect at the helm. A boat pointed directly toward a harbor can still move sideways across the intended track. Watch actual movement rather than steering only by the picture of the bow. Practice recognizing this difference in open, manageable water before relying on small corrections near a hazard.
Bearings describe directions to objects or positions, and they need a known reference. True and magnetic directions are not interchangeable without accounting for the relevant correction. A compass also needs to be understood as installed aboard the boat. Learn the method with a qualified instructor and keep units and references consistent in the plan. Mixing a true bearing from one display with an uncorrected magnetic instruction can create a systematic error that looks precise. Clear terminology matters when another crew member is helping navigate.
Distance and speed units also need consistency. Nautical miles and knots are commonly used in marine navigation, while some devices can display other units. Confirm the selected settings before estimating arrival time or fuel needs. A simple estimate of time equals distance divided by expected speed, but that expected speed should reflect current and operating conditions. Treat the result as a planning estimate. Update it as real progress becomes available instead of assuming the original calculation remains accurate all day.
Use More Than One Clue to Position
A satellite position is valuable, but it should agree sensibly with the world outside. Compare the chart with shore features, navigation aids, expected depth, and the direction of travel. Identify what you expect to see next before it appears. A mismatch deserves attention while there is still room to investigate safely. Do not press farther into confined water simply because the position icon remains centered on a route line. The display can be misconfigured, the chart can be outdated, and an aid can be displaced or temporarily changed.
Keep the depth sounder in that cross-check rather than treating it as a forward-looking guarantee. It normally reports at or near the transducer, and the displayed number may include a chosen offset. Know whether the device refers to the surface, transducer, or keel. A suddenly unexpected depth can help reveal a navigation problem, but by itself it does not identify the safe direction to turn. Slow or stop in suitable clear water, preserve lookout, and resolve the uncertainty before continuing toward danger.
Read Navigation Aids in Their Local System
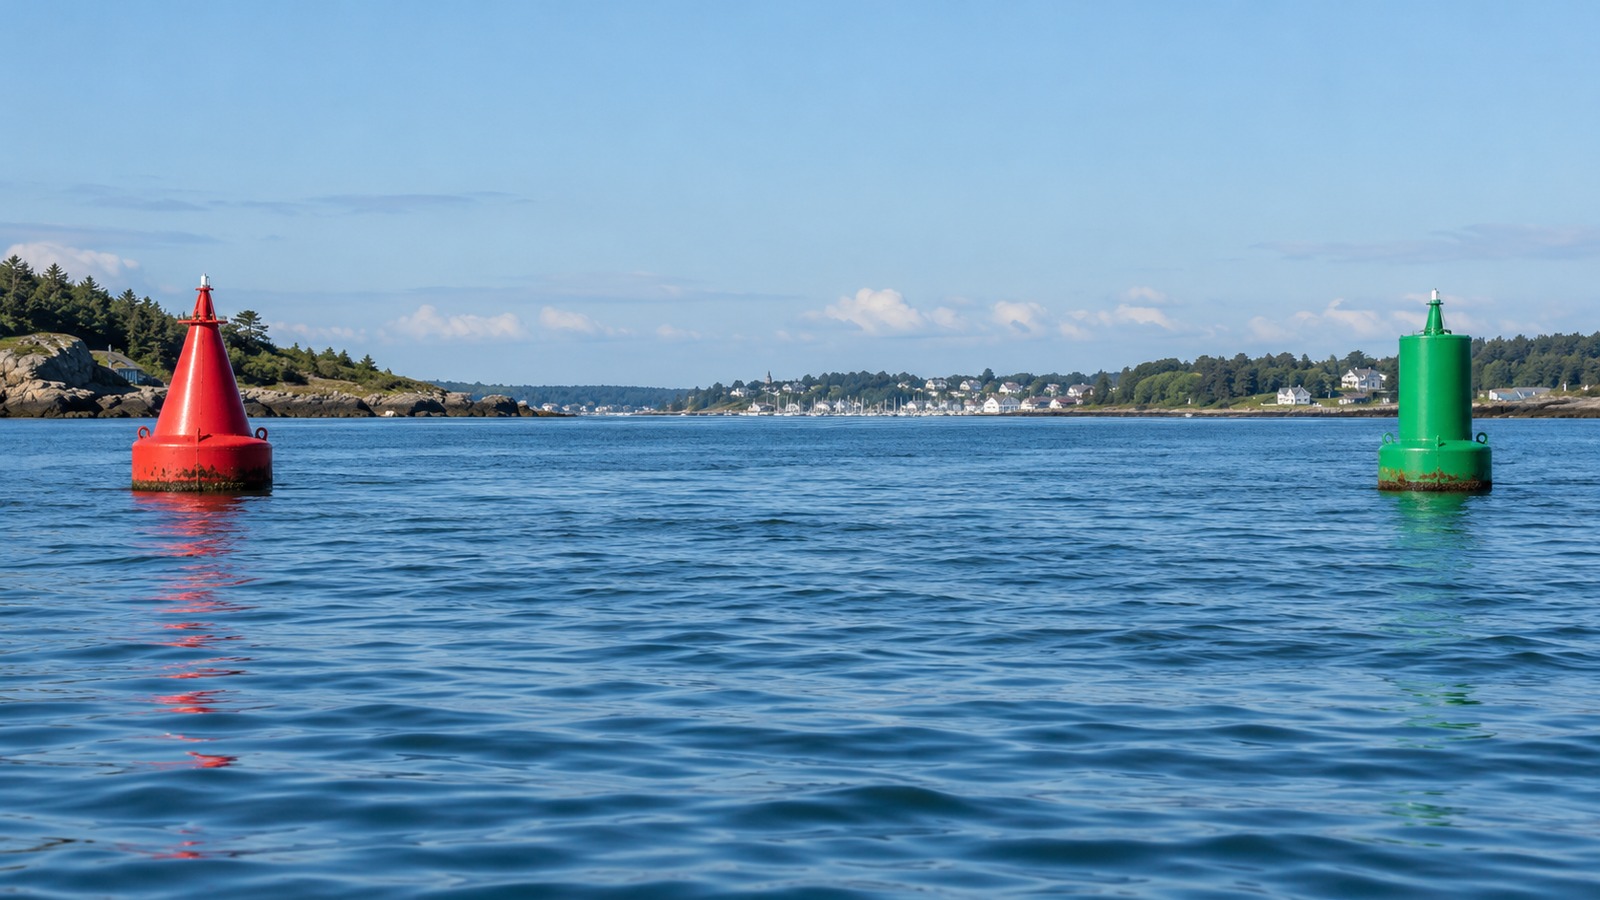
Buoys, beacons, lights, and other aids help describe channels and hazards, but their meaning depends on the system and direction of travel. In the United States, learn the applicable lateral system and confirm the conventional direction for the waterway instead of using a slogan without context. Special-purpose and hazard marks require their own interpretation. Match the aid’s characteristics with the chart and current notices. The BoatUS Foundation aids-to-navigation guide is a useful starting reference for learning the categories and their purposes.
Do not assume a buoy marks the deepest point, sits exactly on a boundary, or can be approached closely from every side. Floating aids move around their moorings and may be off station. Leave sensible clearance and use the surrounding charted information to understand the waterway. A single familiar color is less useful than a consistent picture formed from shape, location, light characteristics where relevant, and nearby features. Learn night identification separately before relying on it in an unfamiliar approach.
Maintain awareness of other boats while using aids. Following a larger vessel does not establish that its route is suitable for your boat or that you understand where it is going. Its draft, destination, maneuverability, and local knowledge may differ from yours. Keep safe separation and apply the relevant navigation rules. The aid system describes waterway information; it does not remove the need for a proper lookout and collision-risk assessment along the planned route.
Monitor the Voyage Instead of Watching Only the Destination
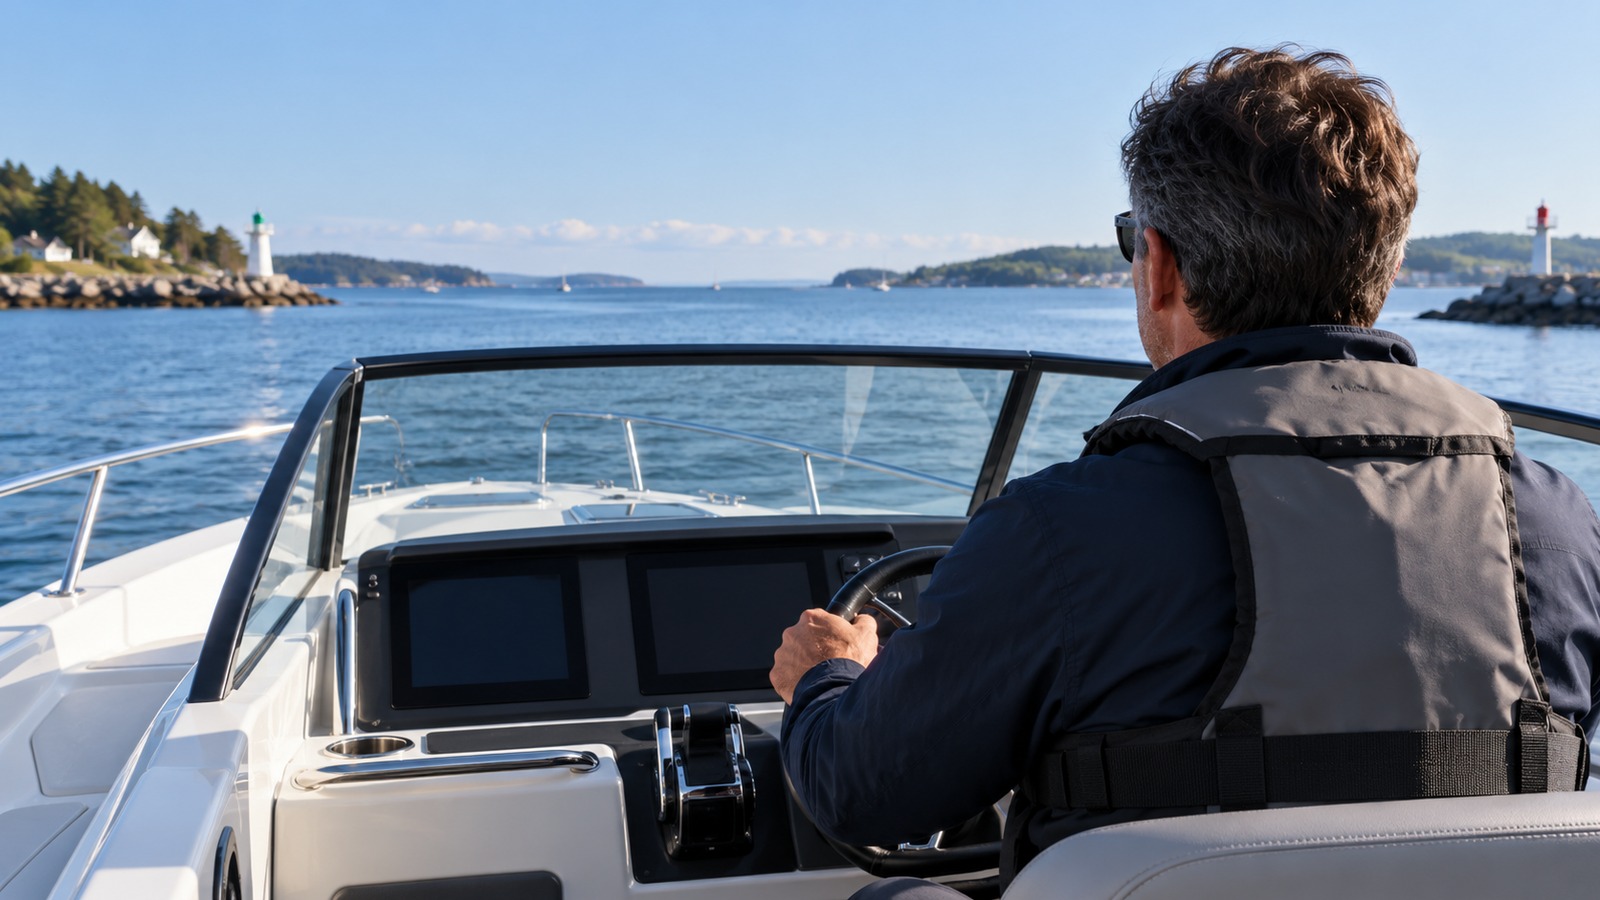
Make regular position and progress checks appropriate to the closeness of hazards and the conditions. Note the last confirmed location, next significant feature, remaining fuel, and expected arrival time. Increase attention when entering a channel, turning, or approaching uncertain water. A long open-water leg and a narrow harbor approach do not need identical checking intervals. Keep the display useful but share attention with the view outside. Navigation is a continuing process of comparing the plan with what is happening around the boat.
If progress differs from the estimate, investigate the cause before it creates another problem. Current, wind, an unsuitable speed assumption, or an incorrect route can all change timing. Reassess fuel and daylight margins after a meaningful delay. Tell the shore contact if the arrival plan changes. A small revision made early is easier than a rushed decision after the reserve has been used. Preserve the option to turn back or divert while the alternatives remain genuinely available.
Prepare for a Loss of the Main Display
Keep a practical backup arrangement that suits the voyage and that you know how to use. A second device is less independent if it shares the same charging source, vulnerable mounting, or single data connection. Consider power, waterproofing, chart access, and position information as well as the device itself. Download necessary coverage in advance and verify that it opens without a network connection. Practice the changeover while safely secured. A backup that requires unfamiliar setup after the main tool fails is a weaker plan than its presence aboard suggests.
Respond Early When the Picture Stops Making Sense
If you lose confidence in position or the route, reduce the demands of the situation. Maintain lookout and choose safe clear water in which to slow, stop, or reassess as conditions permit. Avoid blindly reversing the last turn, because hazards, traffic, and current may make that unsafe. Compare independent information and seek appropriate assistance when needed. The correct action depends on the actual place and vessel. The general principle is to preserve time and space for a reasoned decision rather than continuing deeper into uncertainty.
After arrival, review one or two specific lessons from the trip. Perhaps a chart setting hid useful detail, a current changed timing, or a recognizable landmark provided a good position check. Keep those observations with the route record and improve the next plan. Add difficulty gradually through training and experience. Reliable navigation grows from preparation, observation, clear terms, and timely changes to the plan. The objective is an understood route and a safe return, not merely a completed track on a screen.